Thursday, November 30, 2006
K10D Imaging Strategy
Hisashi Tatamiya; photos copyright 2006 plusd.itmedia.co.jp
There have been numerous web articles in Japan that covered interviews with Pentax engineers about the K10D. Unfortunately, some of the key points have been "lost in translation". Therefore, I'm posting the actual comments or guidance Hisashi Tatamiya provided to journalists on their imaging goals in designing the K10D.
"With the K10D the PENTAX engineers felt is was important to maintain the highest possible image quality rather than using signal processing to reduce noise. They decided to keep the maximum amount of image information and to keep filtering of the image information to a minimum.
Once filtering is applied to an image to reduce noise, any artifacts of this processing are permanently embedded in the image. By minimizing noise filtering the final image obtains a more natural look, especially in the fine details, and does not deteriorate before the photographer makes their own adjustments. An over processed image losses image gradation and dynamic range and gives a rough look to the fine details.
By maintaining the maximum amount of the original data, PENTAX allows the photographer to apply their preferred method of image processing. This allows the photographer to imprint their artistic vision using their preferred work flow. PENTAX felt this was essential in a camera designed for advance photo enthusiasts.
PENTAX has designed the K10D to capture images true to the original setting and has decided to minimize the amount of image filtering. This results in images that have truer color rendition and a wider dynamic range approaching the results found with film cameras."
Wednesday, November 29, 2006
Tuesday, November 28, 2006
Proof's in the Print
In my early, analog photography days, I spent many hours in the darkroom making silver-rich archival black and white prints and those vibrant Cibachrome prints. Based on this experience, the ultimate test of my photographic pursuits has always been seeing how the image translates to a "print". With this in mind, I've been anxious to see how my initial images from the K10D look when pixels are put to paper.
Last night I was able to print 14 images from my Thanksgiving photography session (images posted early) off the Epson Stylus Photo R2400 on Epson Premium Luster Paper. The photo in this post shows an array of these 13x19 prints. I converted my RAW K10D files into TIFF 8-bit files and printed the images from PhotoShop sized to 11"x16" so I could have a border around the prints.
I should also point out that I wanted to test how the K10D images printed without any user influenced tweaks, so I made no changes to the histogram, WB, color, saturation, sharpness. I used my standard print settings, which means color settings in PhotoShop were set to US PrePress Defaults, images were set to a resolution of 240, images were set to Adobe RGB, and I turned off color management in the Epson driver and let PhotoShop set the profile for my Epson Premium Luster paper.
So, my inital observation as a "photographer" and not a "blatant promoter" is the K10D can produce extremely nice prints with very accurate color, wonderful skin tones, details that have depth with nice edges and a snap that initially reminds me of my early cibachrome color prints.
Of course having said this, I think it's also important to note that similar to my experience shooting weddings with the EOS 1D and 1D-MKII, and this shouldn't come as a surprise...images have to be properly exposed! This also reminds me that intially many users of the 1D were not happy with the results they were getting from their first prints.
Turns out many of these photographers were over-processing and using "auto" controls in PhotoShop to adjust the image before they'd even tested what the default images looked like. FWIW, for any one moving up from a lower megapixel camera to the K10D, my advise would be to resist making significant changes to images until you've had a chance to see how your images print only using a workflow that sets the color space and profile for your paper. Using this process will allow you to to determine what the native image of the K10D prints like, thus giving you a baseline to experiment from thereafter.
Hope these initial observations are helpful, and if you take anything away from this post it's that your "print-making" skills are equally as important as your "picture-taking techniques.
Monday, November 27, 2006
Only in Southern California?
Saturday, November 25, 2006
ISO 800 & 1600 samples
K10D images shot at ISO 800 & 1600 in my living room with fairly dim ambient ligting, as indicated by the aperture and exposure time I needed to use. First set of images came from a RAW file shot at ISO 800 with 31mm lens; f/1.8; 1/8sec. I processed the RAW file in-camera to produce both color and BW JPEGs. Second set of images came from a RAW file shot at ISO 1600 with 31mm lens; f/1.8; 1/15sec with same processing as the ISO 800 image.
K10D in-camera processing
I had a chance to experiment with the in-camera processing at our Thanksgiving dinner. While I always shoot in RAW, when I visit our grand-kids, it seems everyone wants the photos "right away". Below are examples straight from the K10D. The first "color" image is a JPEG processed from the RAW file. The second "BW" image was then processed from the JPEG. It took me longer to burn the CDs than it did to use the K10D as my "on-site" image processor, and everyone was happy to have their JPEGs before Grand-Dad left.
Thursday, November 23, 2006
Thanksgiving photos
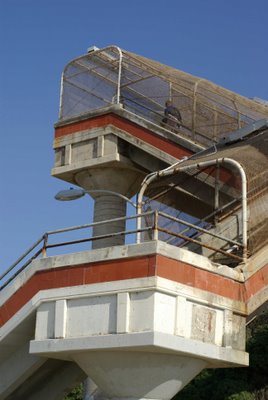
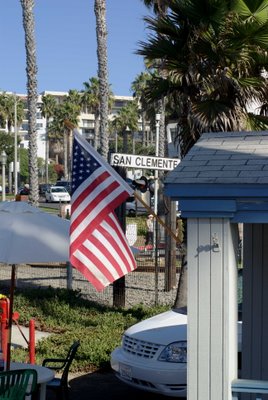
We were blessed with a warm, sunny Thanksgiving day here in southern California. I was able to take my K10D with me on our walk down the beach to the pier in San Clemente, as well as take some family snapshots after dinner. All images shot RAW and processed into JPEGS; ISO 200; lenses used inclued a 31mm, 50mm, and 200mm.
Wednesday, November 22, 2006
K10D shake reduction sample
I've previously posted samples of the effectiveness of the shake reduction system on the K100D. Here's a sample of the K10D's SR system at work. Image shot hand held with a 200mm lens at f/2.8; 1/20 sec; ISO 200. The original image was shot in RAW. I used the camera's "digital filters" to process the RAW into a JPEG. Then I processed the JPEG into BW to show this detailed crop.
Sunday, November 19, 2006
A few K10D snapshots
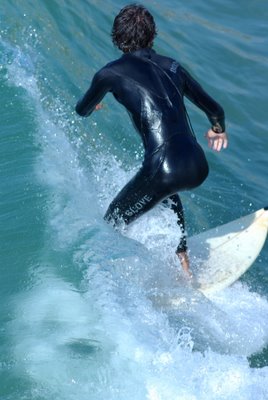
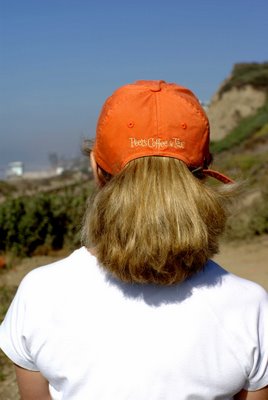
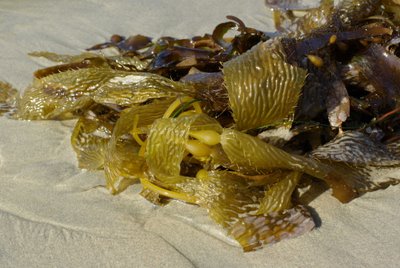
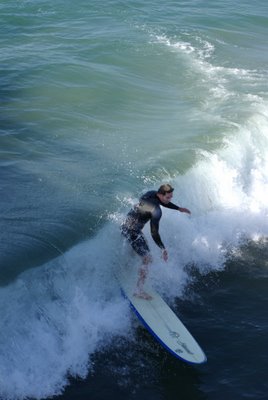
My K10D production unit arrived Saturday morning, just in time to take it with me to the San Diego Photo Expo. I met quite a few fellow dpreviewers who were some of the first to buy this camera in the US . Today was a blur as I had to fly back to Denver in the afternoon. So the only time I had to try out the K10D was with my wife on our power walk down the beach in San Clemente to pick up the Sunday paper. Images shot with the 50mm f/1.4 in RAW at ISO 200. There's really nothing special about these images, however I was shooting in very bright sunlight and I wanted to see how the camera handled exposures and dynamic range. I shot in AV mode at f/8.0 and let the camera meter without any EV adustments on my part. Histograms were nicely distributed and there's good detail in the shadow areas. The surfing shot is interesting especially if you look at the rays of light falling across the shoulder of the surfer, and then the shadows around the board. The shot of my wife in her Peets hat was in direct and extremely bright sun...consequently her shirt is pretty blown out, but the detail in the hat and hair is pretty nice. (Note: if you're using FireFox, you can click on the images in my blog to see a larger file.)
Monday, November 13, 2006
Spoof Tequila Commercial
Potential cure for LBA (lens buying addiction), angst waiting for new tech products like Playstation and K10D, and incessant desire to pixel peep or measurebate...
Thursday, November 9, 2006
Monday, November 6, 2006
K10D ISO 200 samples
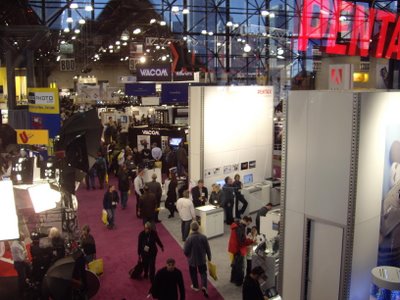
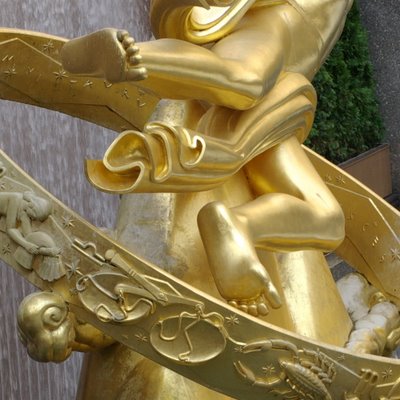
I'm having trouble uploading images to blogger, but here's the start of several sample images taken last week in NYC. I was using the K10D and 50mm f/1.4 to walk around Rockefeller Center in hopes of getting some nice images for PhotoPlus Expo. These first two images are rather tight crops of the original RAW files, shot at ISO 200, and converted to JPEGs to show the detail you can expect.
Subscribe to:
Posts (Atom)